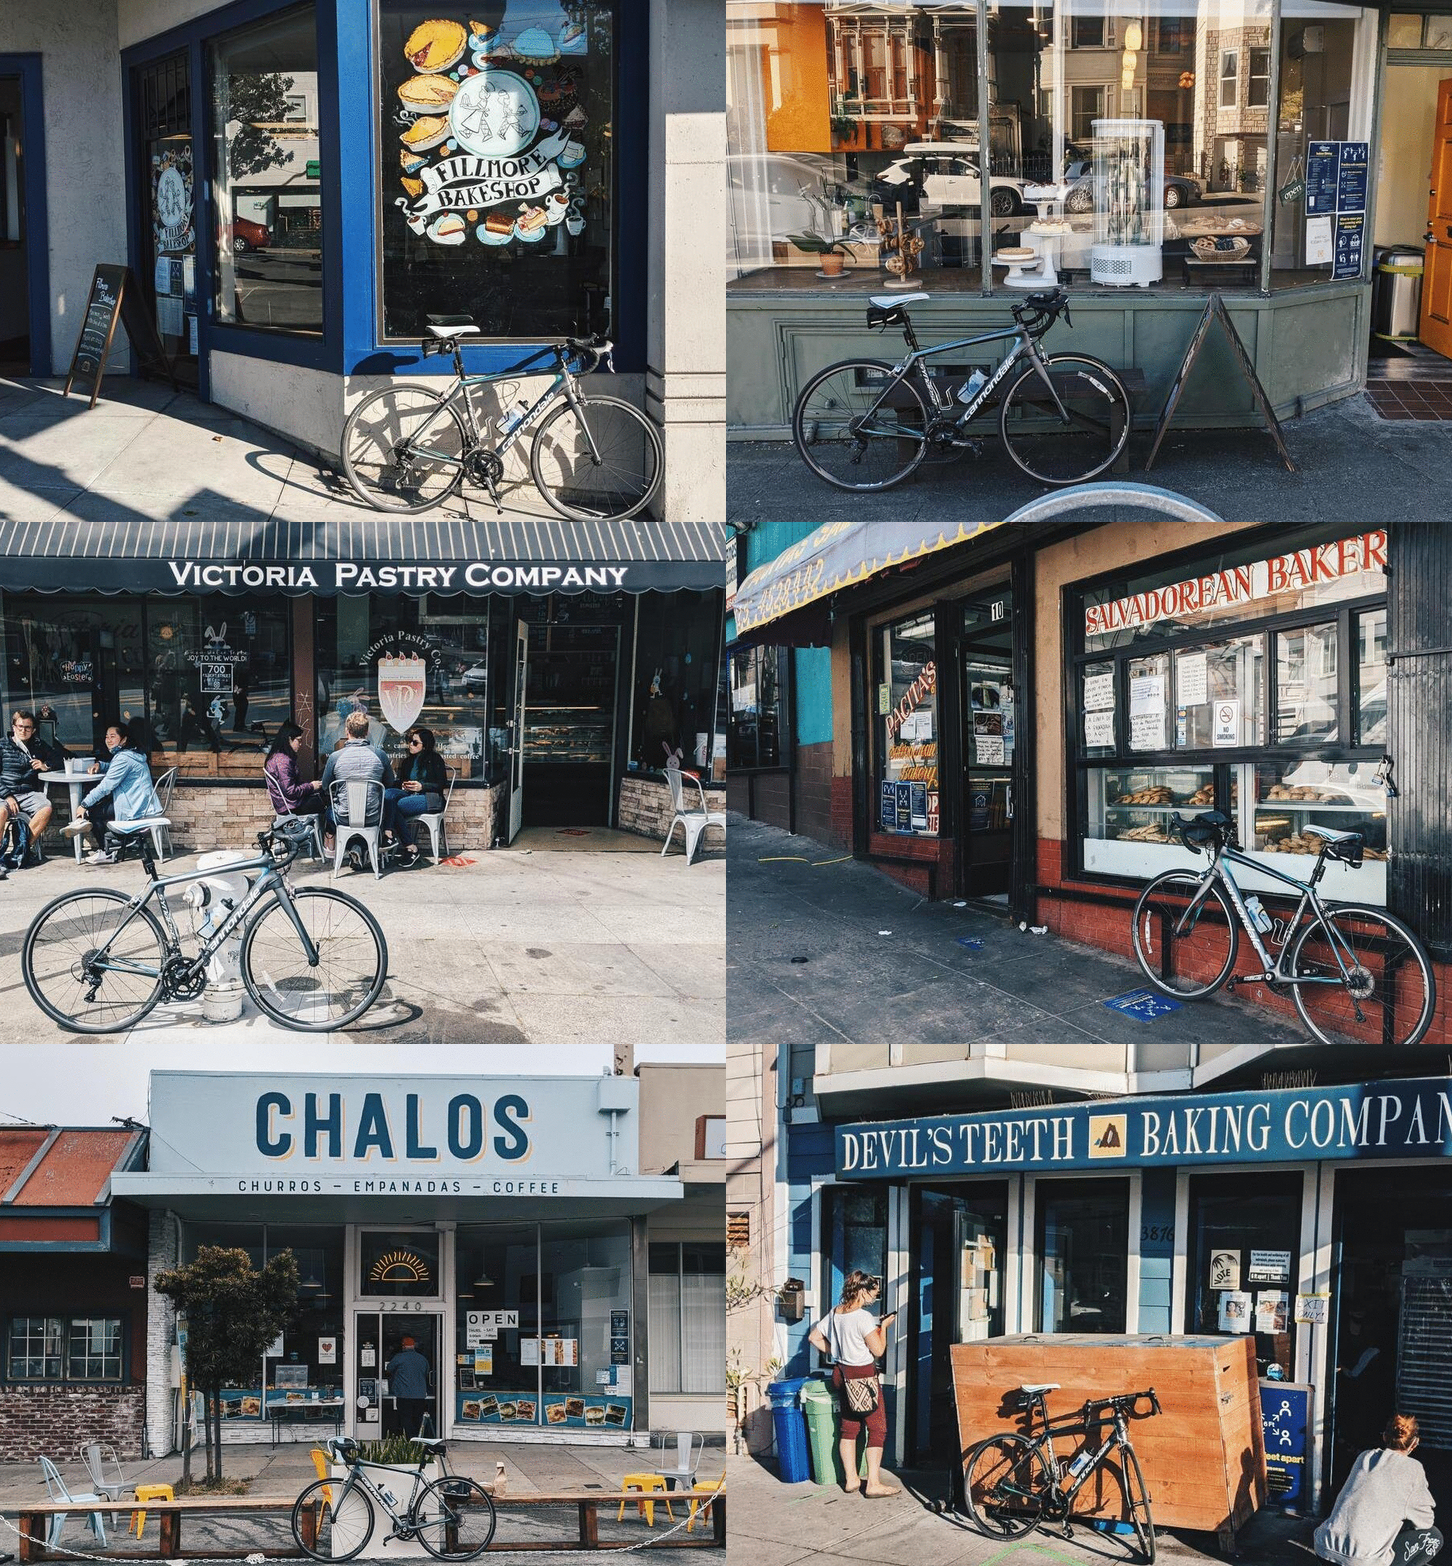
This isn’t just a typical bike ride around the city.
We’re challenging you to visit all 9 bakeries in a single ride.
You can stop and grab a bite from each shop while riding around the beautiful city of San Francisco.
Step 1. CHOOSE Your Route
Spring 2021 (New!)
31.4 miles, 2213 Ft Gain
1. VICTORIA PASTRY COMPANY
2. FILLMORE BAKESHOP
3. HAHDOUGH
4. BREADBELLY
5. DEVIL’S TEETH BAKING COMPANY
6. CHALOS
7. PACITAS SALVADOREAN BAKERY
8. KAHNFECTIONS
9. PEASANT PIES
⭐️ Click Here For the Strava Route⭐️
📍 Printable Map Coming Soon! 📍
Fall 2020
30.2 miles, 2372 Ft Gain
1. LIGURIA BAKERY
2. ARSICAULT BAKERY
3. B. PATISSERIE
4. JANE THE BAKERY
5. CINDERELLA BAKERY
6. LUNG FUNG BAKERY
7. ARIZMENDI BAKERY
8. ANTHONY’S COOKIES
9. DYNAMO DONUTS
⭐️ Click Here For the Strava Route ⭐️
📍 Click Here for a Printable Map 📍
Step 2. RIDE ON
Bring your friends, bring your family. All are welcome to enjoy the ride.
Last fall we saw 100+ challenge rides completed by our local cyclists, equivalent to 3,300+ miles ridden all over the city.
These rides were completed in forms of group rides, solo rides, fixie bike rides, tandem bike rides and more.
tips to make your bakery ride a success.
Before the challenge:
Plan your challenge date. We recommend scheduling the challenge early in the morning to beat the lines.
Download Strava. In order to confirm your challenge completion, we’re asking participants to submit their Strava logs. Be sure to download the Strava app on your phone before you ride.
Save your Strava route. You can star our Ultimate Bakery Ride Challenge Routes to save to your Route page.
For mobile app users: When you’re ready to ride, click the “Use Route” option to load the route on your mobile app for navigation. For more info, click here.
For Garmin users: Sync your routes to your device by enabling Strava Routes in Garmin Connect. Once you starred a route, it should automatically sync. For more info, click here.
During the challenge:
Follow the map. You can use our Ultimate Bakery Ride Challenge Routes to complete your ride from start to finish.
Choose your stops. Use our featured bakery page to find out what pastries to pick up during your ride. You’re not required to buy treats at each stop, but it’s always good to support our local small businesses. 😉
Share your photos. Capture special moments of your ride and share it on Instagram. Tag us at @sfbakeryride or use the hashtag #sfbakeryride and let us know what pastries you’re eating.
After the challenge:
Submit your Strava log. Save your activity and upload it to Strava. Use the “Share Activity” feature to copy your activity link and submit it here.
Enjoy your pastries. You just finished an intense ride! Treat yourself and take time to enjoy your pastries at the park.
Tell your friends and family. We want as many people to complete this challenge! Do us a favor and tell all your bread loving, cyclist friends about it and why they should do it too.


